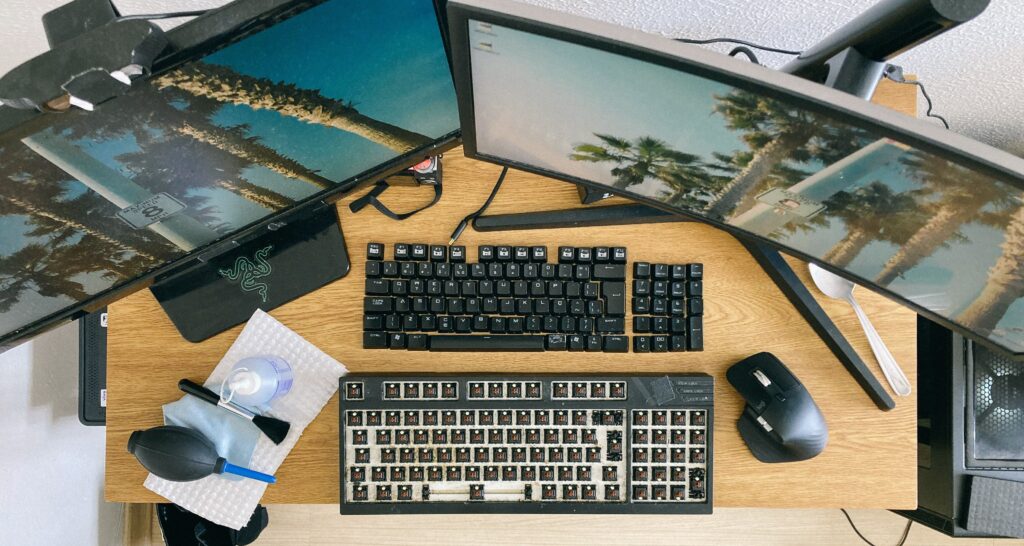
Is your desk keyboard covered in dust and crumbs? Learn the safe, step-by-step method to deep clean your mechanical keyboard without breaking it.
Between morning coffees, quick desk lunches, and daily typing sessions, your keyboard takes a massive beating. Over a few months, dust, crumbs, and hair inevitably settle deep beneath the keys. It isn’t just an eyesore, built-up debris can actively interfere with the mechanical switches, causing keys to stick or misfire.
Cleaning a mechanical keyboard might look intimidating if you are worried about damaging the fragile electronic components, but the process is incredibly simple when done right.
Here is the safe, step-by-step guide to deep cleaning your keyboard and restoring that fresh, out-of-the-box feel.
Step 1: Prep Your Space and Disconnect
Before you touch a single key, safety comes first. Turn off your computer and unplug the keyboard completely. If you are using a wireless Bluetooth keyboard, turn off the power switch and remove the batteries. You want zero electrical currents running through the board while you work.
Pro Tip: Take a quick, clear photo of your keyboard layout with your phone right now. You will thank yourself later when you are trying to remember exactly where the
Page UpandScroll Lockkeys belong!
Step 2: Strip the Keycaps Safely
Do not try to yank the keycaps off with your fingers or a screwdriver, as this can easily snap the plastic stems underneath. Instead, use a wire keycap puller.
- Slide the wire loops under the corners of a keycap.
- Pull straight upward with gentle, steady pressure.
- Note: For large keys like the Spacebar or Shift key, be extra gentle, as they often utilize small metal stabilizer bars underneath that can easily bend.
Step 3: Wash the Keys
Once all the keycaps are off, drop them into a bowl of warm water mixed with a few drops of mild dish soap. Let them soak for about 20 minutes to break down skin oils and grease.
After soaking, wipe away any remaining grime with a microfiber cloth, rinse them thoroughly with clean water, and lay them out upside-down on a towel. They must dry completely (usually 12 to 24 hours) before going back on the board, as even a tiny drop of hidden water can ruin a switch.
Step 4: Clean the Exposed Board
While the keys are drying, turn your keyboard base upside down over a trash can and give it a firm tap to shake loose the heavy crumbs.
Next, use a can of compressed air to blow out the remaining dust stuck between the switches. For stubborn spots or sticky grime on the plastic casing, lightly dampen a Q-tip with 90% (or higher) Isopropyl alcohol and gently scrub the area. Alcohol evaporates almost instantly, making it safe for electronics.
Step 5: Reassemble and Test
Refer back to the photo you took in Step 1. Line up each dry keycap over its respective switch and press down firmly until you feel it click into place. Once everything is assembled, plug it back into your PC and pull up a free online keyboard tester to make sure every single switch registers beautifully.